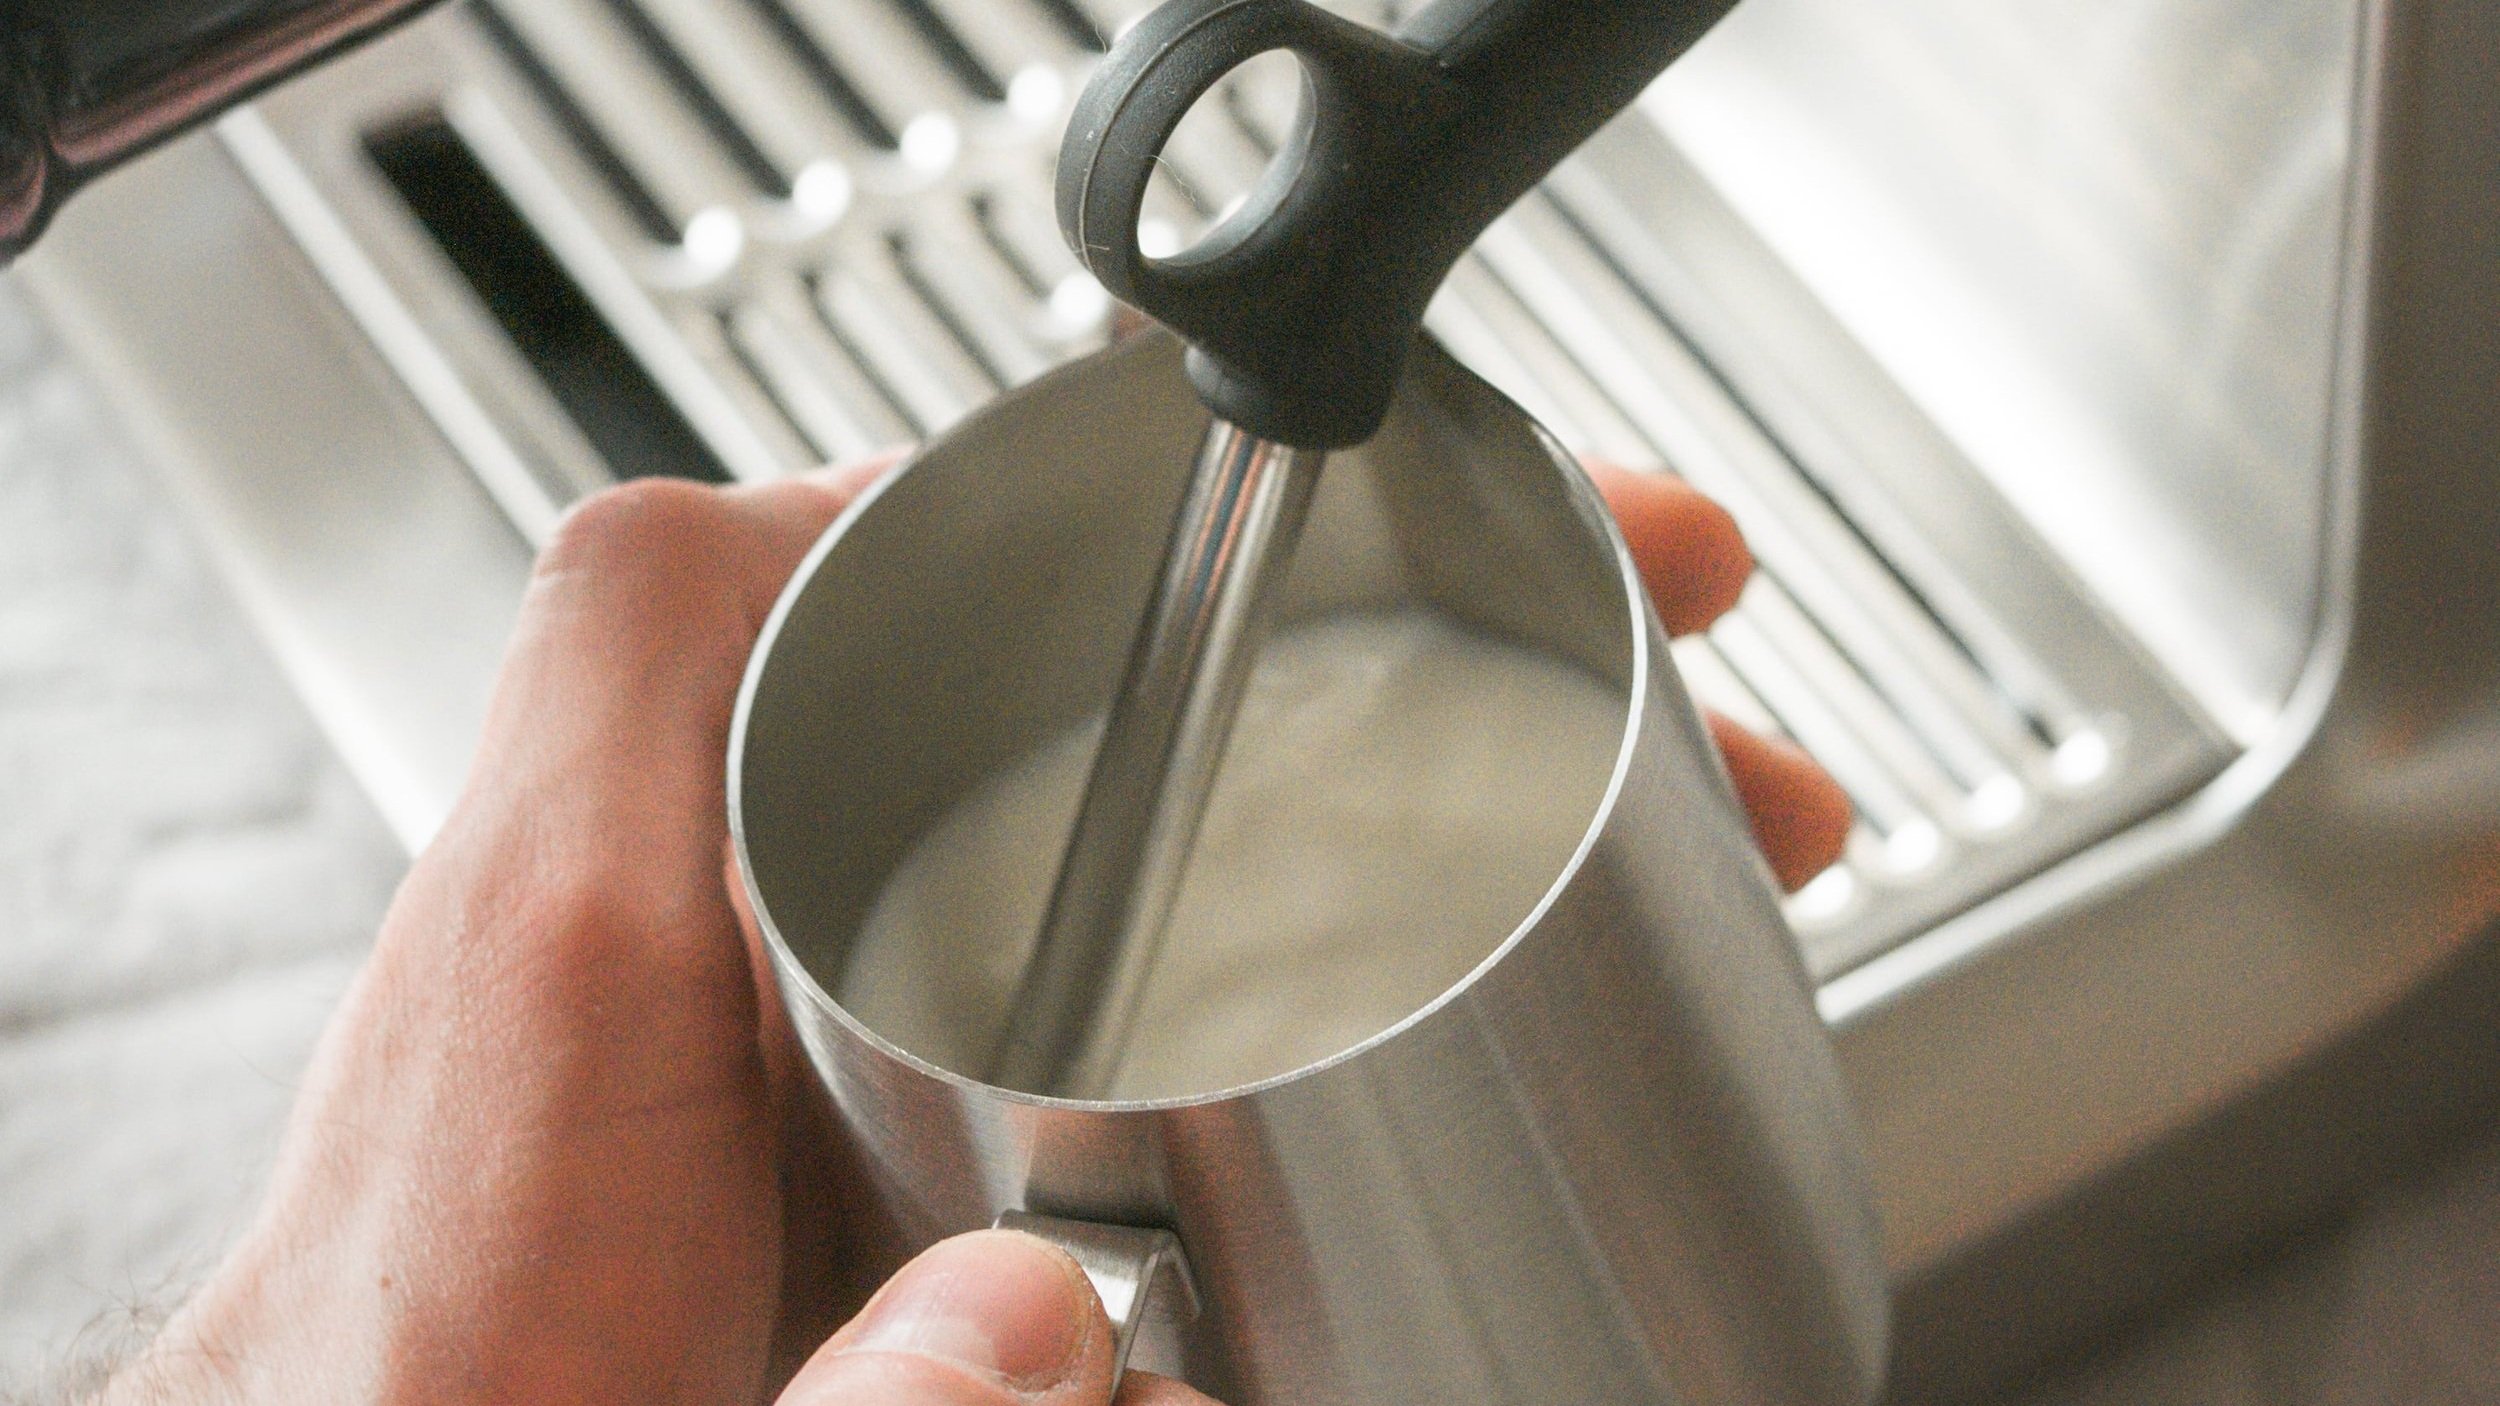
Steaming milk at home may initially seem challenging, but with the right techniques, it can become an enjoyable and rewarding part of crafting your favorite coffee drinks. Whether you're aiming for a creamy latte, frothy cappuccino, or a bold macchiato, mastering milk steaming is key. The Breville Barista Express is an exceptional machine for achieving professional-quality steamed milk in your own kitchen. Follow this step-by-step guide to perfect your milk-steaming skills. Discover the advanced features and performance of this machine in our Breville Dual Boiler BES920XL review
Why Steamed Milk Enhances Your Coffee Experience
Steamed milk does more than add foam to your coffee—it transforms the drink. The steaming process creates microfoam, tiny bubbles that result in a smooth, velvety texture. This microfoam enhances both the flavor and texture of your drink, balancing the robust espresso with a creamy, luxurious finish. Learn about the ease of use and innovation in our Breville Barista Touch Impress review
Preparing Your Breville Barista Express for Steaming
The Breville Barista Express (also marketed as the Sage Barista Express in certain regions) is a favorite among home baristas for its versatility and ease of use. Its efficient steam wand makes it simple to achieve café-quality results with just a bit of practice. Compare these two popular models in our Breville Barista Express Impress vs Pro review

Essentials for Steaming Milk
Before you begin, gather the following tools and ingredients:
- Breville Barista Express with steam wand
- Cold milk (whole milk for creaminess, or barista-grade plant-based milk for alternatives)
- Stainless steel milk jug for temperature control
- Optional: Thermometer for monitoring milk temperature
Step 1: Getting Your Machine Ready
First, ensure your Breville Barista Express is fully heated. Once the steam function light indicates readiness, let the machine sit for an extra minute to reach optimal steam temperature. Find out which machine suits you better in our Breville Barista Pro vs Express review
Purge the steam wand by turning the steam dial for a few seconds to release any condensed water. This ensures pure steam for better milk quality. Explore the key differences between these premium machines in our Breville Oracle vs Oracle Touch review
Step 2: Preparing the Milk
Pour cold milk into your milk jug, filling it about one-third full. Cold milk allows more time to achieve the desired texture before overheating. For the creamiest foam, use whole milk. If you prefer plant-based options, choose a barista-grade variety for better frothing results.
Step 3: Positioning the Steam Wand Correctly
The positioning of the steam wand is critical for creating smooth, velvety microfoam. Place the wand just below the milk’s surface at an angle of 15-20 degrees. This helps create a whirlpool effect that breaks larger bubbles into fine microfoam.
Tilt the jug slightly and position the wand near the edge to ensure consistent swirling and even heating.
Step 4: Steaming Your Milk Like a Pro
Turn on the steam knob and listen for a soft hissing sound, indicating air is being introduced into the milk during the "stretching" phase. Keep the wand just beneath the milk’s surface to incorporate air without splashing.
After 5-10 seconds, lower the jug to submerge the wand fully. This begins the "texturing" phase, where the milk heats and foam integrates. Maintain the whirlpool motion to create a glossy, silky microfoam.
The process should take 20-30 seconds. Aim for a milk temperature of around 150°F (65°C). If you’re using touch instead of a thermometer, stop steaming when the jug feels too hot to hold comfortably.
Step 5: Cleaning the Wand and Perfecting the Texture
Once you’ve finished steaming, turn off the steam and wipe the wand clean with a damp cloth to remove any milk residue. Purge the wand again to clear out any leftover milk.
Tap the jug gently on the counter to eliminate large bubbles and swirl it to mix the foam and milk. Look for a shiny, smooth texture as an indicator of well-steamed milk.
Step 6: Pouring Milk for the Perfect Drink
Pouring your steamed milk correctly enhances both presentation and flavor balance. Start with a slow, steady pour close to the espresso’s surface to mix the milk evenly. As you near the top, increase the pour speed slightly to create a layer of foam. With practice, you can experiment with latte art for an artistic touch.
Troubleshooting Common Milk-Steaming Problems
- Milk Not Frothing: Ensure you’re using cold, whole milk or barista-grade alternatives. Keep the wand tip just below the surface for proper aeration.
- Large Foam Bubbles: Avoid introducing too much air by keeping the wand steady without splashing.
- Overheated Milk: Use a thermometer or stop steaming when the jug becomes too hot to hold.

Conclusion
Mastering milk steaming with the Breville Barista Express is a skill worth developing. By focusing on air incorporation and temperature control, you can create silky, luxurious microfoam for café-quality beverages at home. With patience and practice, you’ll soon be crafting coffee drinks that rival those from your favorite coffee shop. Happy steaming!
